大家注意,以前通过 npm的方式安装已经不再适用于 Element-plus v1.1.0-beta.21版本,如果你使用这种方式,启动vue的时候会出现下面的错误:
ERROR Failed to compile with 2 errors 9:22:58 AM
These relative modules were not found:
- ./fonts/element-icons.ttf in ./node_modules/css-loader/dist/cjs.js??ref–6-oneOf-3-1!./node_modules/postcss-loader/src??ref–6-oneOf-3-2!./node_modules/element-plus/dist/index.css
- ./fonts/element-icons.woff in ./node_modules/css-loader/dist/cjs.js??ref–6-oneOf-3-1!./node_modules/postcss-loader/src??ref–6-oneOf-3-2!./node_modules/element-plus/dist/index.css

Element-plus官网的文档提供了 Vue-cli安装 Element的方式,文档地址:
https://element-plus.gitee.io/zh-CN/guide/quickstart.html#starter-template
打开文档往下找,到这个地方有个 Vue CLI 安装 Element-Plus的安装方法,点击链接进去:
https://github.com/element-plus/vue-cli-plugin-element-plus
跟着这个命令执行即可:
vue add element-plus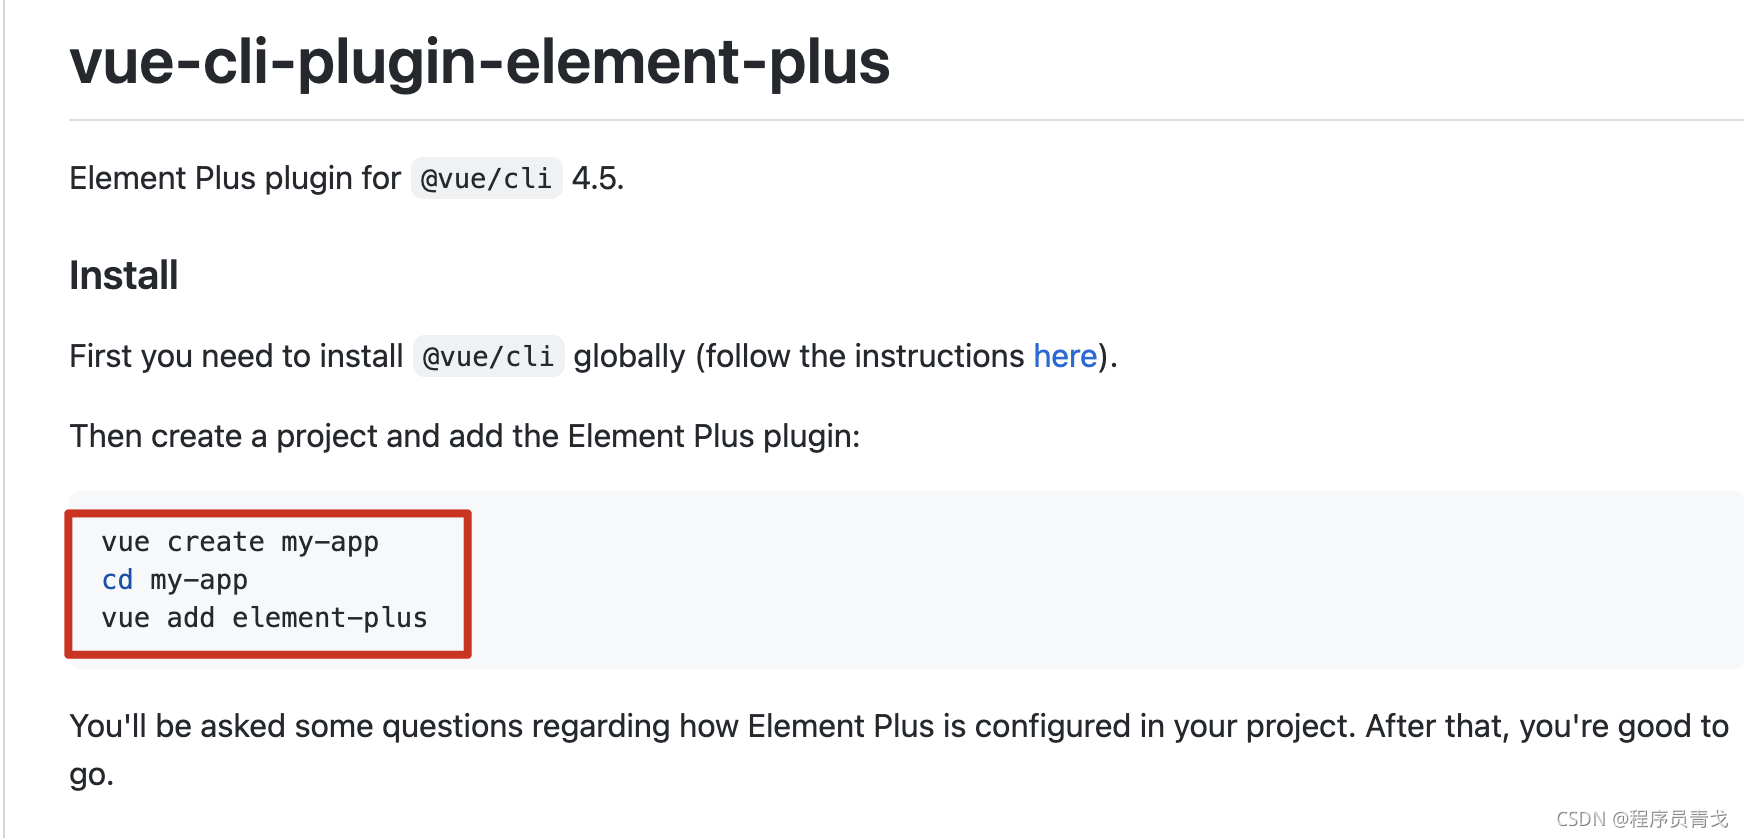
注意:如果你之前通过npm安装配置过 element,你需要先执行
npm uninstall element-plus并且移除 main.js里面的配置: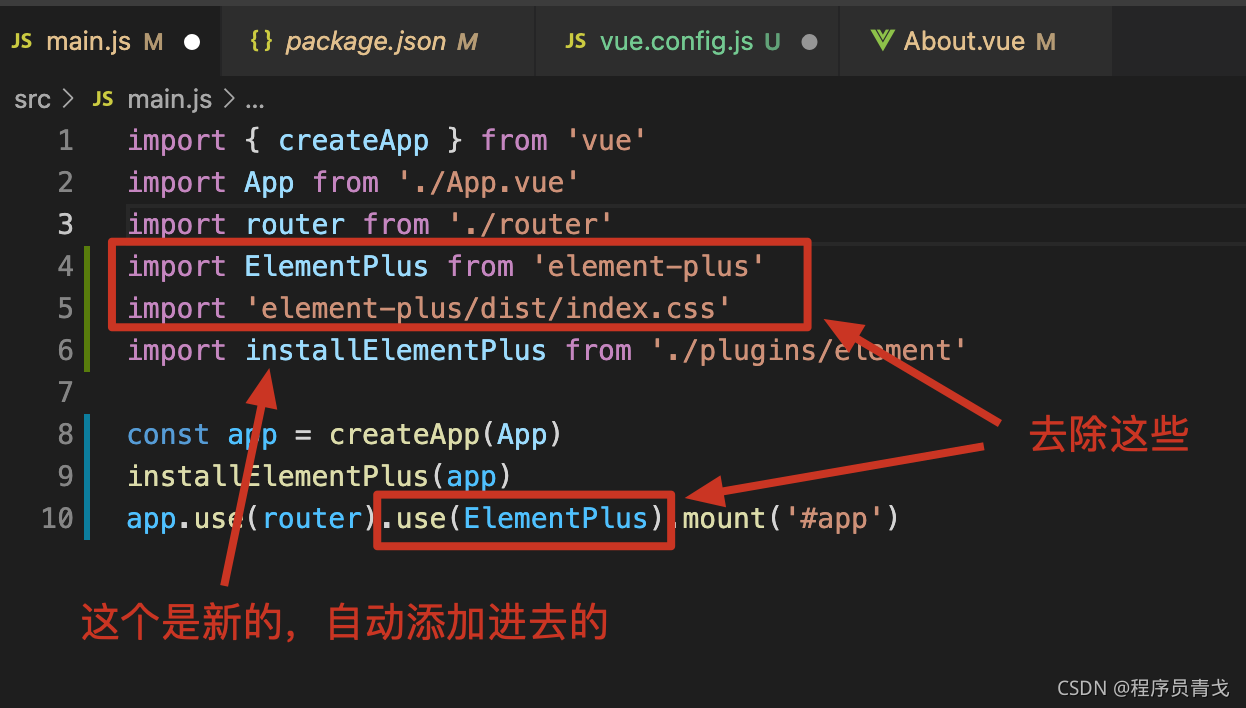
import installElementPlus from './plugins/element' 是自动添加的,无需手动配置。
OK,完成上面的配置,我们就可以启动vue了
npm run serve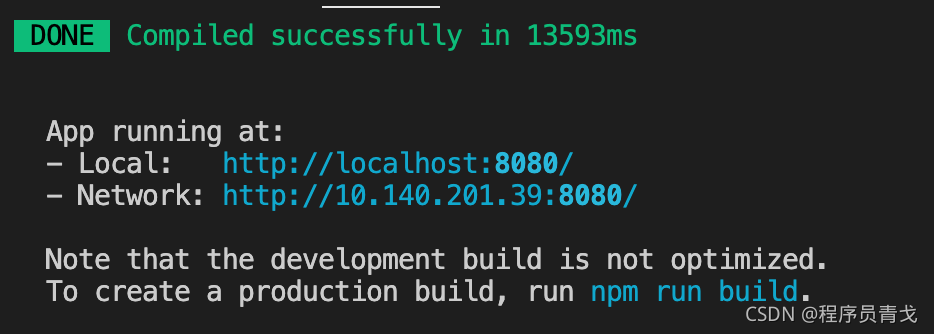
在页面上会看到: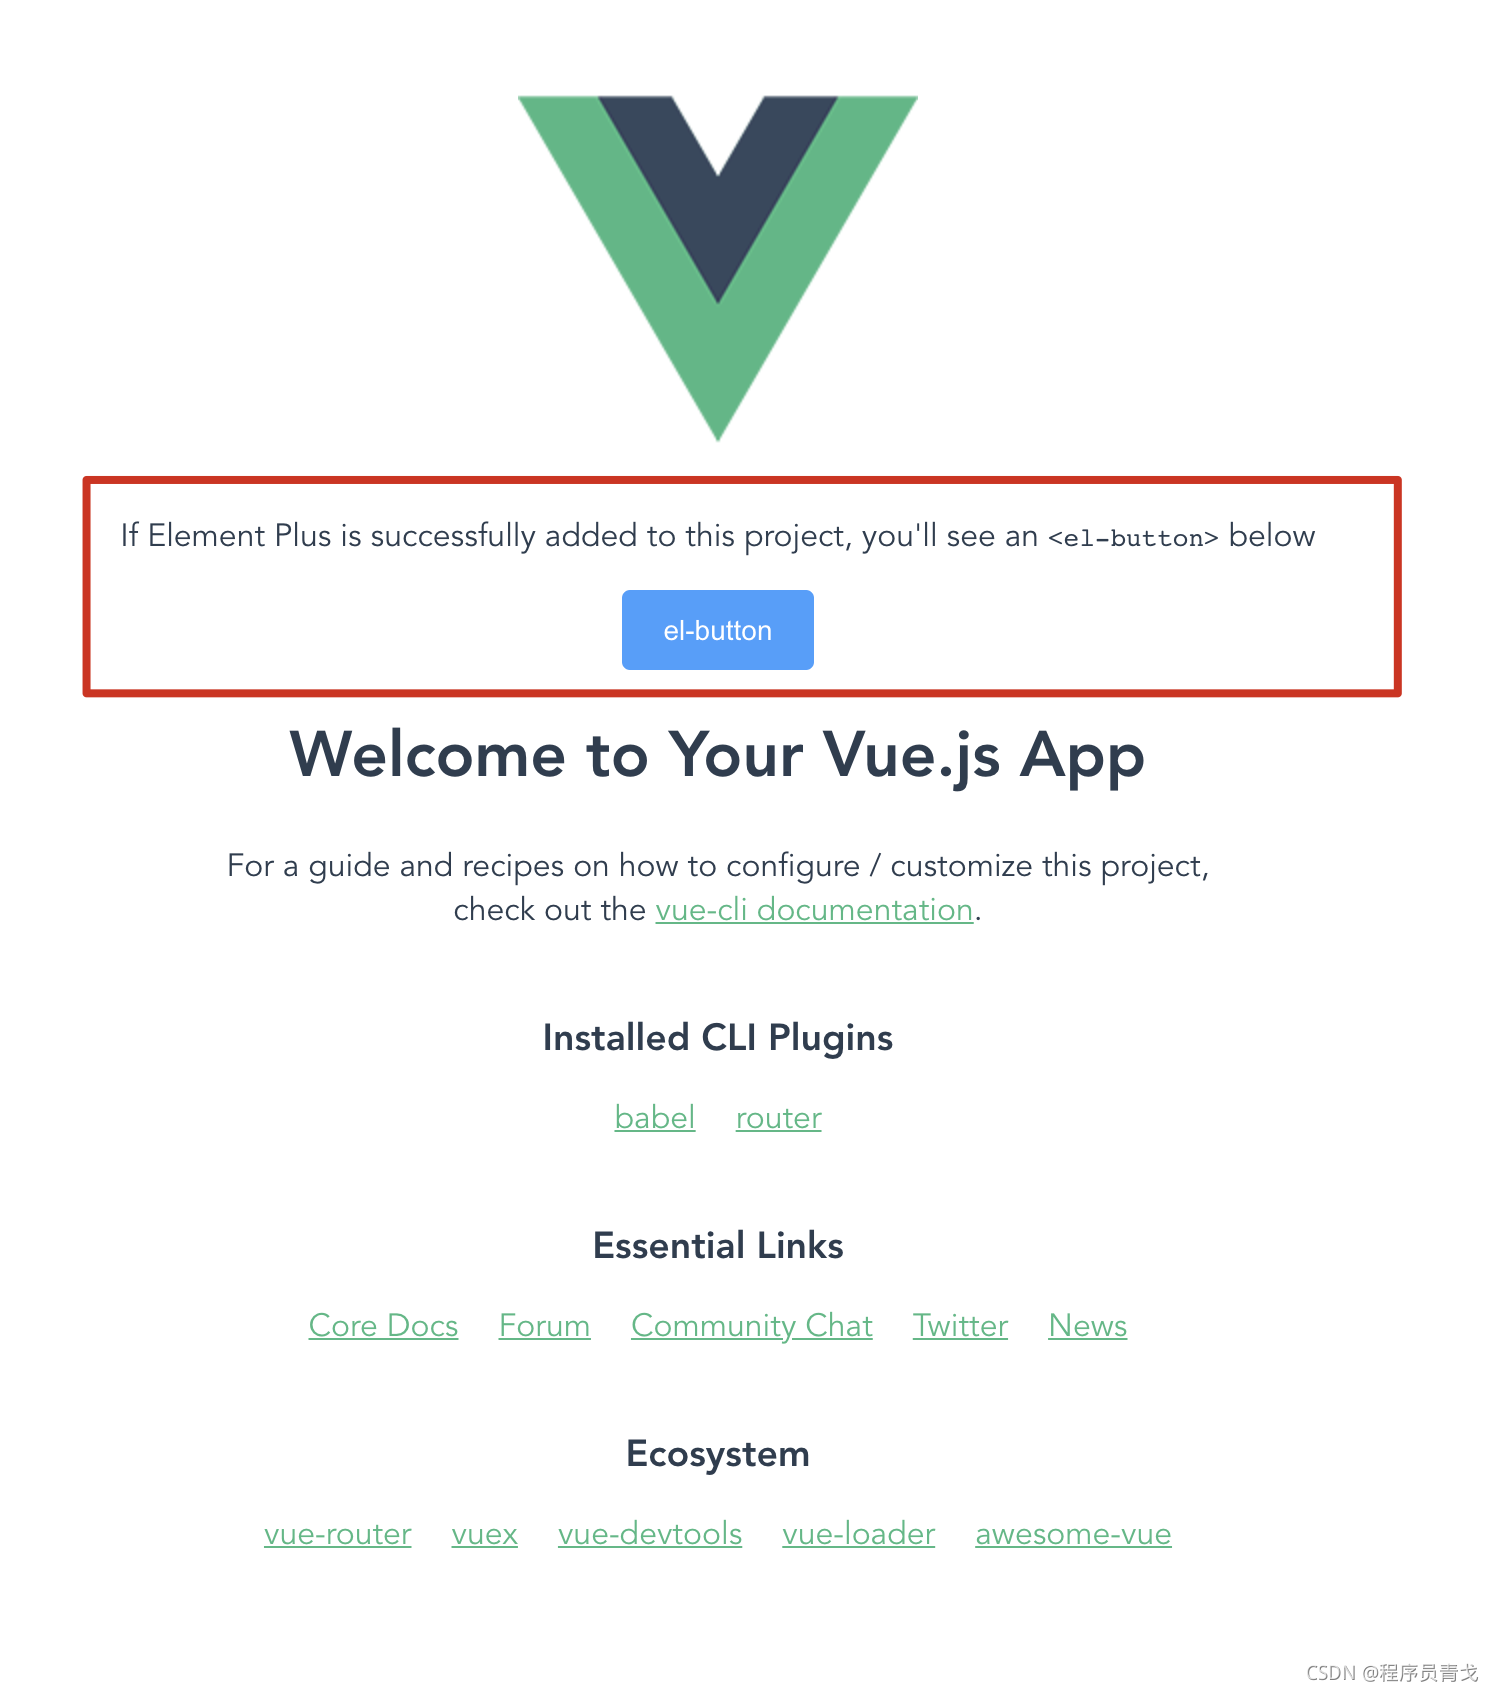
说明 Element-plus安装成功了。
tips: 遇到问题,大家还是多看看官方文档,应该会提供解决方案的。
热门文章
- 给动物打的疫苗叫什么名字来着(给动物注射疫苗)
- JS 删除数组中某个元素的几种方式
- 4月26日最新机场订阅 | 19.7M/S|2025年SSR/V2ray/Clash/Shadowrocket免费节点地址链接分享
- Spring Boot教程 | 第八篇:Spring Boot整合knife4j(swagger-bootstrap-ui)实现自动API文档
- 4月20日最新机场订阅 | 18.7M/S|2025年SSR/Clash/Shadowrocket/V2ray免费节点地址链接分享
- 4月28日最新机场订阅 | 20.2M/S|2025年V2ray/SSR/Clash/Shadowrocket免费节点地址链接分享
- 5月5日最新机场订阅 | 20.7M/S|2025年Shadowrocket/V2ray/Clash/SSR免费节点地址链接分享
- 动物疫苗的了解和感受是什么 动物疫苗的了解和感受是什么意思
- 4月30日最新机场订阅 | 19.2M/S|2025年Shadowrocket/Clash/SSR/V2ray免费节点地址链接分享
- 宠物家庭寄养协议书范本免费(宠物寄养协议书标准版)